
Wood veneer adds elegance and warmth to furniture but can easily suffer from scratches, dents, or peeling. Learning how to repair wood veneer not only restores its beauty but also extends the life of cherished pieces. This guide will walk through essential techniques and tips to effectively fix common veneer issues, helping anyone maintain their home’s style and value.
Understanding Wood Veneer
Wood veneer consists of thin slices of natural wood adhered to a core panel, often made of composite materials. This layer brings aesthetic appeal and warmth to furniture, enhancing its surface while keeping the cost lower compared to solid wood options. For example, premium materials like Woodenave bamboo veneer not only add a sleek and sustainable finish but are also durable and easy to maintain. However, wood veneer remains susceptible to several forms of damage.
What Is Wood Veneer?
Wood veneer is a sheet of wood thinner than 3 millimeters, typically created by slicing or peeling a log. It can feature intricate grain patterns that improve the visual character of furniture. Veneer is widely used due to its ability to replicate the appearance of solid wood at a fraction of the cost, offering a sustainable option that utilizes less wood overall.
Common Issues with Wood Veneer
Veneer experiences several common issues:
- Scratches: Surface scratches often occur from daily use. They can detract from the overall beauty of the piece.
- Dents: Heavy objects may leave dents, which can be challenging to repair if not addressed promptly.
- Peeling: Deterioration of adhesive can cause sections to peel away from the substrate. This issue often results from moisture exposure or inadequate sealing.
- Discoloration: Exposure to sunlight or harsh chemicals can lead to fading and color changes over time.
Recognizing these issues allows for timely intervention, thereby preserving the integrity and appearance of wood veneer furniture.
Tools and Materials Needed
Repairing wood veneer requires specific tools and materials to achieve effective results. Having the right items on hand streamlines the repair process and ensures lasting outcomes.
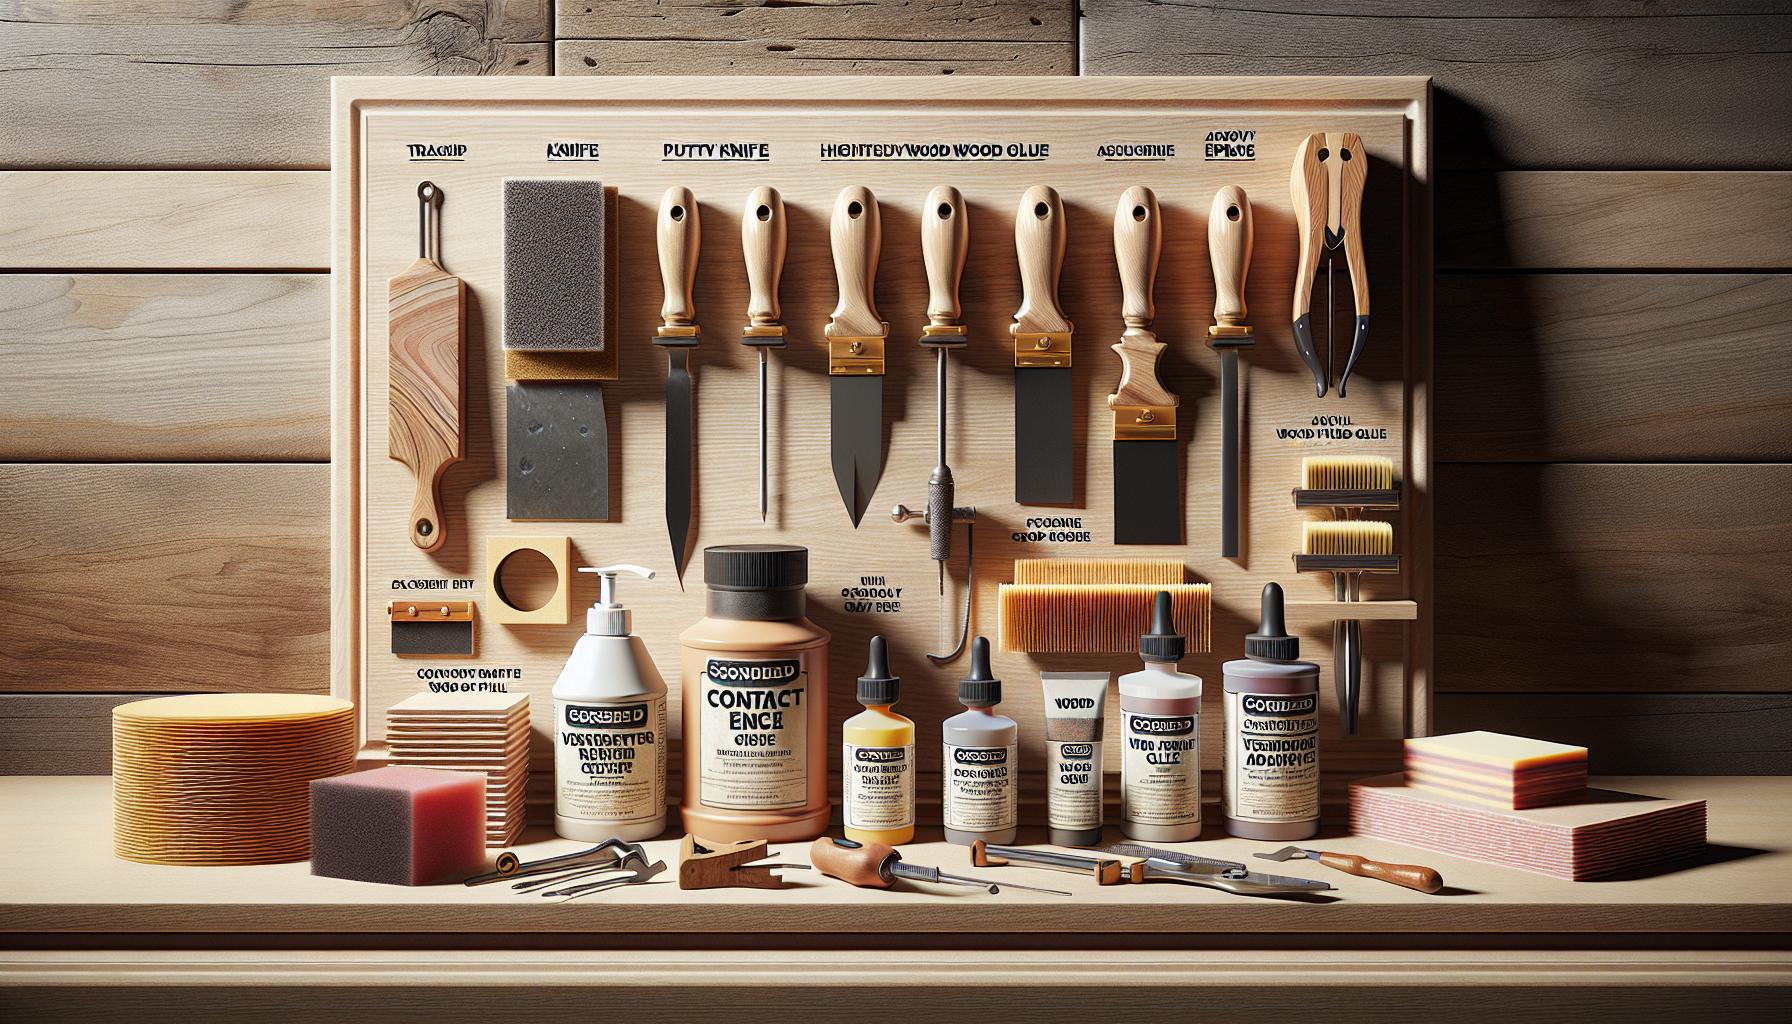
Essential Repair Tools
- Utility Knife: A sharp utility knife helps in precise cutting of veneer and trim.
- Putty Knife: A putty knife facilitates the application of adhesives and fillers smoothly.
- Sandpaper: Use fine-grit sandpaper to gently smooth the surface around repairs.
- Clamps: Clamps secure the veneer in place during the drying process.
- Sponge or Cloth: A damp cloth cleans surfaces before applying adhesives.
- Contact Cement: Ideal for gluing veneer to flat surfaces, providing a strong bond.
- Wood Glue: An effective option for minor repairs; it offers a clear finish after drying.
- Epoxy: This versatile adhesive works well for larger or more problematic repairs.
- Wood Filler: Use wood filler to patch cracks and dents, which can be sanded and painted over.
- Veneer Adhesive: Specifically designed for veneer applications, ensuring optimal adhesion without damaging the material.
Step-by-Step Guide on How to Repair Wood Veneer
Repairing wood veneer requires careful attention to detail. Follow this structured approach for effective results.
Assessing the Damage
Examine the veneer surface closely to identify the extent of damage. Look for scratches, dents, or peeling areas. Determine if the veneer is loose or cracked. For minor scratches, a quick repair might be sufficient. For significant issues like peeling or large cracks, more extensive repair methods are necessary. Document specific areas needing attention to streamline the repair process.
Preparing the Surface
Clean the damaged area thoroughly to remove dust and debris. Use a damp cloth for effective cleaning, ensuring the surface dries completely before proceeding. For loose veneer, gently pry up the edges using a utility knife or putty knife to create a clean working area. If the damage involves dents, sand the area lightly with fine-grit sandpaper to level the surface, ensuring optimal adhesion for subsequent repairs.
Applying Adhesive or Filler
Select the appropriate adhesive or filler based on the damage type. Apply contact cement for loose veneers, ensuring even coverage. For cracks, use wood glue, placing weight on the repaired area using clamps until the adhesive sets. For deeper damage, fill gaps with wood filler, smoothing it with a putty knife to achieve a flush finish. Allow sufficient drying time as specified by the product instructions before moving on to the next step.
Finishing Touches
After the adhesive has dried, sand the repaired area lightly to blend it with the surrounding veneer. Wipe the area with a damp cloth to remove dust. Apply a suitable wood finish or stain if necessary, matching it to the original veneer color. In some cases, a final coat of clear varnish provides added protection. Allow any finishes to dry completely before using the furniture.
Preventive Measures for Wood Veneer Care
Taking care of wood veneer furniture involves specific practices that prevent damage and extend its life.
Proper Cleaning Techniques
Regular cleaning maintains the beauty of wood veneer. Use a soft, lint-free cloth to dust surfaces weekly, removing dirt and debris. For deeper cleaning, mix a few drops of mild dish soap with water, dampen the cloth, and gently wipe the veneer. Avoid soaking the wood, as excess moisture can weaken glue bonds. Always dry surfaces immediately with a clean, dry cloth. For stubborn stains, mild solvent-based cleaners can be applied sparingly, ensuring thorough testing on inconspicuous areas first.
Ideal Environmental Conditions
Wood veneer thrives in stable environmental conditions. Maintain indoor humidity levels between 30% and 50% to prevent cracking or warping. Avoid direct sunlight as it can cause fading and discoloration. Position furniture away from heat sources, such as radiators or vents, which can lead to drying out the veneer. Using humidifiers during dry seasons helps preserve moisture levels, supporting the integrity of the veneer.
Conclusion
Repairing wood veneer can be a rewarding experience that enhances the beauty and longevity of cherished furniture. With the right tools and techniques, anyone can tackle common issues like scratches and peeling. By taking proactive steps to maintain and care for wood veneer, it’s possible to preserve its elegance for years to come.
Investing time in learning these repair methods not only saves money but also instills a sense of pride in maintaining home furnishings. Whether it’s a family heirloom or a modern piece, understanding how to care for wood veneer ensures that it continues to bring warmth and style to any space.
Frequently Asked Questions
What is wood veneer, and why is it used in furniture?
Wood veneer is a thin slice of natural wood glued onto a core panel made from composite materials. It enhances furniture’s elegance and warmth while being more cost-effective than solid wood.
What are common issues with wood veneer?
Common issues include scratches, dents, peeling, and discoloration. These can result from everyday use, improper care, and exposure to sunlight or harsh chemicals.
How can I repair scratches on wood veneer?
To repair scratches, clean the area, sand lightly, and fill with wood filler. Once dry, sand again, then touch up with a matching stain or finish to blend with the surrounding veneer.
What tools are needed for wood veneer repair?
Essential tools include a utility knife, putty knife, fine-grit sandpaper, clamps, and a damp cloth. These help with cutting, smoothing, and securing repairs effectively.
What materials should I use for wood veneer repairs?
Materials needed for repairs include contact cement, wood glue, epoxy, wood filler, and specifically designed veneer adhesive. These ensure strong bonds without damaging the veneer.
How can I prevent damage to wood veneer furniture?
Preventive measures include using a soft cloth for dusting, applying a mild soap solution for deeper cleaning, and maintaining stable humidity and temperature levels away from direct sunlight and heat.
How do I assess damage on wood veneer?
Assessing damage involves examining the surface for scratches, dents, or peeling. Identifying the type and extent of damage will guide the appropriate repair techniques to use.
What is the best way to clean wood veneer?
To clean wood veneer, use a soft, lint-free cloth for regular dusting. For deeper cleaning, a mild soap solution can be applied, ensuring to avoid excess moisture to prevent damage.